| Previous: Montmartre Cemetery | Up: Table of Contents | Next: Building |
Tuesday, February 20, 2007
france.paris.the louvre.end
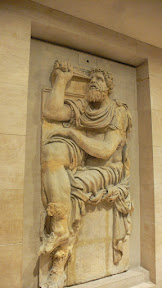
At the end of the second day, late (the keep the museum open until 9pm on Fridays), I exited one of the halls between a pair of bas-reliefs. One of them suddenly held great resonance for me.
| [full gallery] | ||
| Previous: Renaissance | Up: The Louvre | Next: Coming Soon! |
france.paris.the louvre.renaissance
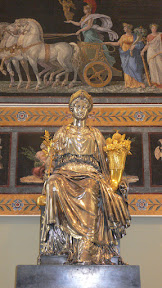
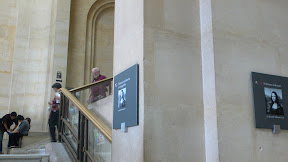
I've mentioned that the size and labyrinthine nature of the Louvre makes it really easy to get lost, but the Louvre has a very simple organizational principle. That principle is: if you are not in the room with the Mona Lisa, you must be lost. To address that principle, there is (at least) one sign on every unused surface in the Louvre with the image of the Mona Lisa and an arrow, pointing you in the direction of the room with the Mona Lisa. This may sound like exaggeration.
| [full gallery] | ||
| Previous: Stabby Things | Up: The Louvre | Next: The End |
france.paris.the louvre.stabby things
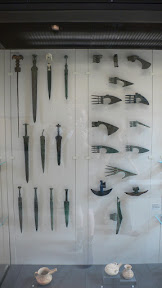
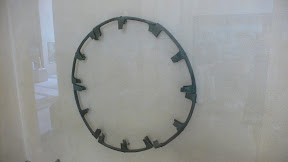
There are a few exceptions to this, of course, but only a few.
| [full gallery] | ||
| Previous: Medeival | Up: The Louvre | Next: Renaissance |
france.paris.the louvre.medieval
| [full gallery] | ||
| Previous: Classical | Up: The Louvre | Next: Stabby Things |
Box Blogging: Addendum
There were a couple of actual final steps to undertake. First was getting all the old data from my previous computer -- second was actually putting the case sheathing on.
My plan all along was just to move the hard drive from the previous computer (I have too many computers to say "old") to the new one as a secondary drive, then move data (or not) at my convenience. Since the previous machine had been bought with the expectation of using it as a server when I was done, I had actually installed XP on the smaller, secondary drive on that system, an 80GB IDE.
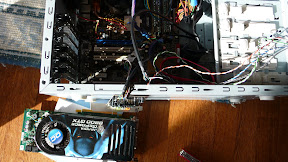
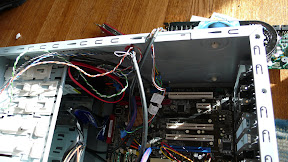
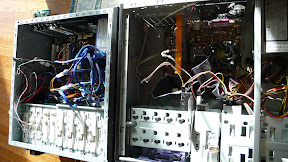
I'd put everything in place to run, but now I needed to pull a lot of stuff out, due to the tight fit of the larger components.
 |
| From New Computer |
 |
| From New Computer |
 |
| From New Computer |
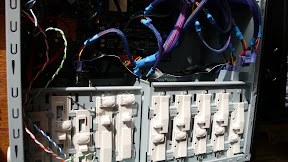
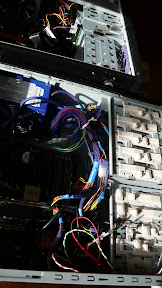
Getting that second IDE plug to attach was tricky, involving careful folding of the cable. I actually went ahead and unplugged it from the DVD-R first, which helped. It just barely worked, which was a huge relief.
 |
| From New Computer |
 |
| From New Computer |
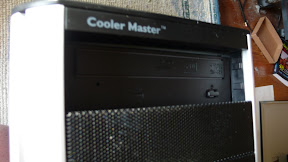
The next issue presented itself when I started putting the case exterior back on -- the DVD-R was too deeply recessed. Observe the two angled "clips" (for lack of a better word) between the drive front and the case front.
 |
| From New Computer |
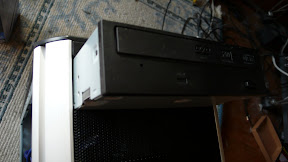 |
| From New Computer |
The final product is pretty nondescript (blogger spell-check says that's one word, not hyphenated...) but satisfying. And "Armed with Honor"!
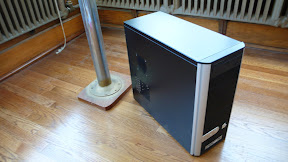 |
| From New Computer |
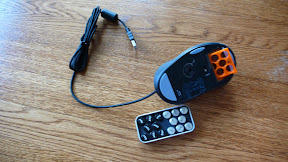 |
| From New Computer |
A'ight. That's it. That's all I've got.
Friday, February 02, 2007
Box Blogging: Final Thoughts
(But what was the process of Construction like?)
Well, I plugged it in, fired it up, there was a shower of sparks and some white smoke and then nothing. I walked calmly to the bridge, and tossed myself over the suicide barrier.
The End
Actually, it fired up smoothly. Not only did this not happen with my last build (I mentioned the whole power switch cable nonsense earlier), but it must have taken me at least 3 more hours just to get to that point, fussing with screws, dropping screws, screaming "Screw this!", getting the rails backwards, putting the drive on the rails backwards, too far out, too far in, getting the CPU fan on backwards, threading tiny cables onto tinier pins, etc. From the time I got the last box from UPS (around 1pm) to the time I got the first POST was about 3 hours.
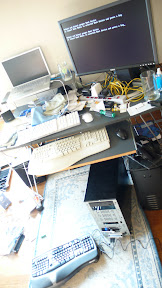 |
| From New Computer |
Installing Windows (I did a full format -- I assume that helps pick out bad blocks from the get-go), getting all the updates (it took some persistence to get to the point where they would let me download Service Pack 2), installing all the drivers, getting the updates for the drivers, getting the MAC address for my ethernet card so that I could add it to my router -- I was done at about 9.30pm (just in time to catch a bite to eat at Le Cordon Bleu).
 |
| From New Computer |
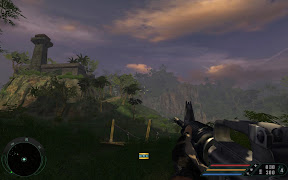
And it was all for this -- Far Cry with everything at Very High, 1920x1600 (turns out the screenshots are lower res -- 1600x1000).
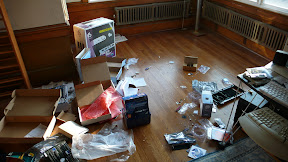
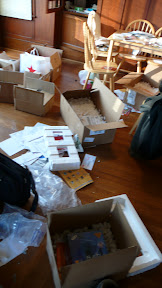
Now to deal with the aftermath:
 |
| From New Computer |
 |
| From New Computer |
Fin
Okay actually, here's an Addendum
Box Blogging: Construction
 |
| From New Computer |
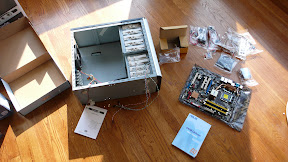
So, the first step is to get the motherboard and case out. First you screw a set of screw "bases" into the back of the case, according to your motherboard type (9 for an ATX). Then overlay the motherboard and screw the top screws through the appropriate holes in the motherboard and into the screw bases (these keep the MB just a bit above the case side). I put all the bottom screws in, but only 6 of the top screws. I don't think it's going to fall out, but the more bases supporting the board, the better.
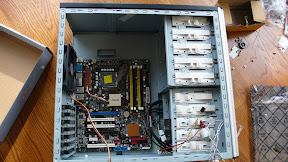 |
| From New Computer |
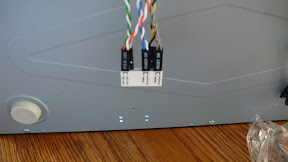
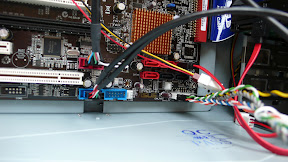
The ASUS P5B comes with some clever little adapter plugs that let you manage the mess of small cables coming out of the front of the case (power, reset, case speaker, HD lights) and some others designed to help you keep your Firewire and USB cables separate. This was a nightmare with my past box -- the power and reset cables are extremely touchy, and getting them to make proper contact on the pins was largely a matter of guesswork. Much of this guesswork occured after furious screaming fits and a premature conclusion that the motherboard was fried.
 |
| From New Computer |
 |
| From New Computer |
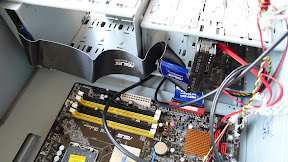
After that I slid in the DVD-R and the HD. There's only one IDE connection on the MB, and this is a small issue in that there really aren't any spaces left for a PCI IDE board. I've arranged the cable in such a way that the close connectors (usually for two devices) are by the MB, with the one way up at the top with the DVD-R. I plan on putting a second IDE HD in (the one I'm currently using in my other computer), both to have a backup drive, but also to facilitate moving data over, so I'll want the second plug down there. Boy, the new SATA cables are nice to work with, by contrast.
 |
| From New Computer |
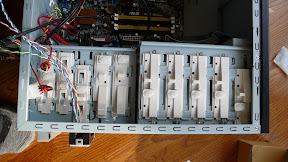
As a semi-toolless box, all the drives are slid into place and then "locked" in with these mechanisms. The lock seems to be a modest friction lock, since they can still slide with enough force. Still, that's really all that's needed.
 |
| From New Computer |
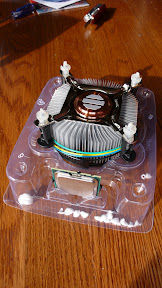
The CPU -- well padded, fortunately.
 |
| From New Computer |
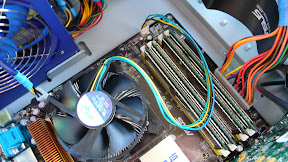
Slotting in the CPU, while made out to be nerve-wracking by the documentation, is extremely straightforward. What always is difficult for me is the fan. Mind you, it was difficult on the last one because I somehow managed to succeed in putting it on backwards the first time. But it is a force-intensive process, and the MB seems to bend alarmingly. The four "pins" are to be oriented in a specific way, then pressed into the holes on the motherboard in diagonally opposite pairs. First of all, this takes more force than one is generally comfortable with. Second, you do not follow the apparent directions on the tops of the pins (an arrow indicating turning the pin). That is how you dis-engage the pins. Took me a few tries to realize that.
As I learned from the last box, make sure the cable for the fan is closest to the pins on the board that are designated for the CPU fan. I just went with the pre-applied thermal grease, although comments by users on Newegg suggest using a third party goo. I suppose I'll keep an eye on CPU heat.
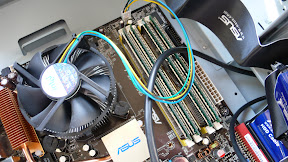
Four GB of hot, HOT RAM:
 |
| From New Computer |
There's an issue here both with the motherboard and Windows XP 32 that concerns properly addressing 4GB of RAM. Both only see 3GB. I suppose at some point I'll upgrade to a 64-bit version of Windows, but I hope that doesn't require getting a new motherboard as well.
 |
| From New Computer |
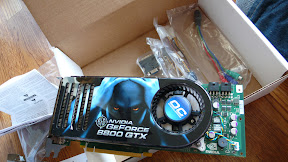
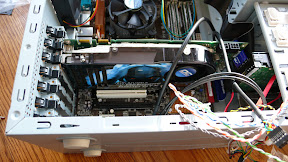
It's a monster, and the single most expensive part of this computer. I could probably get equivalent performance with less, but I broke down at the last moment. My big concern with this is temperature. There will be 5 fans running in the system (front, back, CPU, PSU, and the 8800's own fan). It also has its own fan exhaust, which vents very hot air when running.
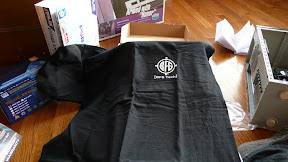
The T-shirt:
 |
| From New Computer |
Installed it takes one PCIe Slot and its bulk obscures the adjacent slot.
 |
| From New Computer |
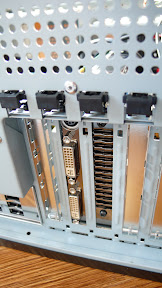
It sports two DVI ports, an HDTV out, and takes an entire rear slot for venting.
 |
| From New Computer |
 |
| From New Computer |
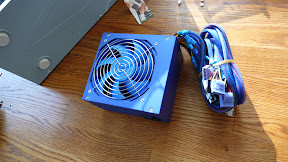
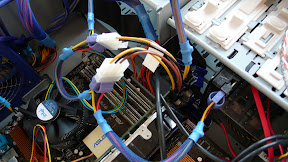
The Power Supply Unit. I bought the 400, but at the last moment thought to check the specs of the 8800GTX, and discovered that it needed at least 475 Watts, so I had to rush order a 500. It's blue. It must be toxic. It seems to be made out of pure lead. I'm sure of this, because I dumped it in the bath, and it displaced Archimedes. And despite all this, it only has one PCI plug. The 8800 requires two. The 8800 comes with two adapters that allow you to convert the input from two standard drive plugs to provide a single PCI plug's output.
 |
| From New Computer |
Now, plugging in the motherboard was a little bit tricky, at least for me. See, there's normally this big wide plug, with a lot of sockets that are either completely square or rounded on one side or another (this keeps you from putting it in backwards) and then another plug with 4 pins that you put in close to the CPU. Both are pictured below. But there were two things that gave me pause. For some reason, the wide plug was too small (by two pins-width) and there was a tab I could pull up to reveal and extra two pins (for six) on the CPU power socket. Nothing in either the PSU or MB documentation helped me on this. Now, the wide plug did have, bundled closely, a second smaller plug that would fit into the empty slots on the MB socket. You can see this in the picture by the way the wires coming into the main socket are divided. So I did this, and ignored the extra sockets near the CPU. Crap like this makes me unnecessarily nervous, though.
 |
| From New Computer |
 |
| From New Computer |
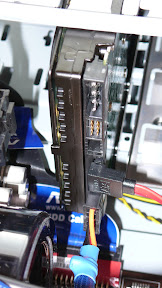
I initially put a standard drive plug into the HD, but then remembered that there are special "SATA" power plugs, so I switched that one in. I'm not sure why there's a traditional port in the back of the SATA drive, but I have neither the need nor the courage to test it.
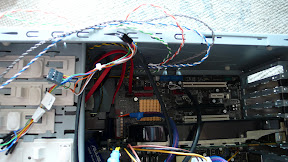
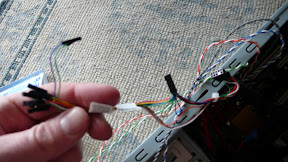
There are sound out/in ports in the front of the case, here is the highly confusing cable.
 |
| From New Computer |
 |
| From New Computer |
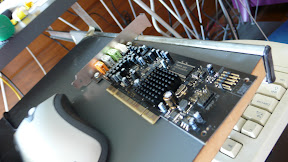
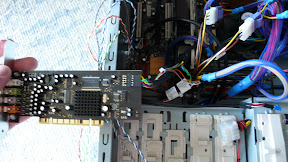
I haven't a clue what all the little bits on the end do; there are two identical plugs along the length, but only one of them is marked HD Audio, so that's what I attached to the X-fi.
 |
| From New Computer |
 |
| From New Computer |
With that done, it was time to try the power. Onwards, to Final Thoughts.
Box Blogging: The Parts
Case: COOLER MASTER Centurion 5 CAC-T05-UW Black Aluminum Bezel, SECC ATX Mid Tower Computer Case - Retail
MotherBoard: ASUS P5B Deluxe LGA 775 Intel P965 Express ATX Intel Motherboard - Retail
Power Supply: FSP Group (Fortron Source) AX500-A, 2.0 version, 2 SATA, PCI Express, 500W - Retail
(Note, I originally went with the Ars Spec Power Supply, not realizing that the graphics card I'd chosen required more power. Still need to RMA that.)
CPU: Intel Core 2 Duo E6600 Conroe 2.4GHz LGA 775 Processor Model BX80557E6600 - Retail
(Note: I got two. Maybe a questionable choice -- more later.)
Hard Drive: Western Digital Raptor WD1500ADFD 150GB 10,000 RPM Serial ATA150 Hard Drive - OEM
DVD-R: Pioneer 16X DVD±R DVD Burner With 5X DVD-RAM Read Black ATAPI Model DVR-111D - OEM
Graphics Card: BFG Tech BFGR88768GTXOCE GeForce 8800GTX 768MB GDDR3 PCI Express x16 OC HDCP Video Card - Retail
Sound Card: Creative Sound Blaster X-Fi XtremeGamer 70SB073A00000 7.1 Channels PCI Interface Sound Card - Retail
Keyboard: Microsoft FA6-00010 Black USB Wired Ergonomics Keyboard Mouse Included - OEM
Mouse: Logitech G5 2-Tone 6 Buttons 1 x Wheel USB Wired Laser Mouse - Retail
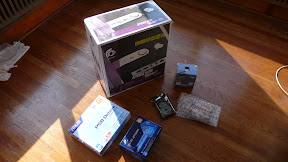
First, the Core:
 |
| From New Computer |
The case is "Armed with 'Honor'". Haha! Not after I got my hands on it. The Motherboard is an ASUS -- "Rock Solid * Heart Touching." I assume that means "If you don't ground it properly".
I was petrified that the CPU wouldn't work, given the shape the box was in. Looked like someone had scored a field goal with it. Half expected to find Robbie Gould's autograph on the side. Yes, I looked that reference up on Google.
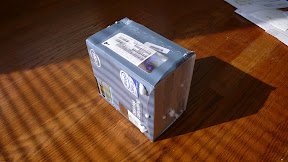 |
| From New Computer |
Now, the Extras:
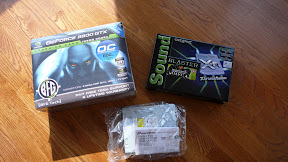 |
| From New Computer |
The 8800GTX comes with a t-shirt! To their credit, this was not advertised on the front of the box. And it's a pretty sturdy t-shirt. Shit, should be diamond encrusted for what I paid for this monstrosity. I'm sure the smart buyer's price-point was somewhere else, but I'm taking a gamble on obsolescence insurance.
And the Input Devices:
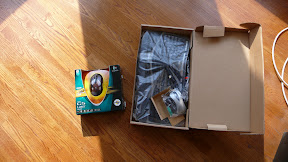 |
| From New Computer |
All the boxes opened, on to
Construction.Box Blogging: Introduction
- Introduction (this page)
- The Parts
- Construction
- Final Thoughts
- BONUS! Now with an Addendum
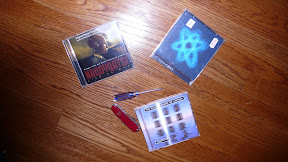
- swiss army knife (officer model, with corkscrew)
- small philip's screwdriver
- Future Sound of London: Accelerator
- Orbital: The Blue Album
- Philip Glass: Naqoyqatsi
 |
| From New Computer |
On to the next page: The Parts.
